Monday, August 31, 2020

COLOR !!! - Early Childhood Lesson


Materials- Colorful items that you can find around your house.  Cositas coloridas que tu puedes encontrar en tu casa.

Making-
1. Collect 6 items from around your house, one for each color of the rainbow.  Recoger seis cositas, uno para cada color.
2. Organize the items by color in order of the rainbow: red, orange, yellow, green, blue, and violet.  Organizar las cositas por color en orden del arco iris:  rojo, anaranjado, amarillo, verde, azul, y violeta.
3.  Show your work to the rest of your class. Mostrar tu trabajo a la clase.

*Repeat the above activity, collecting only items that are the color black.


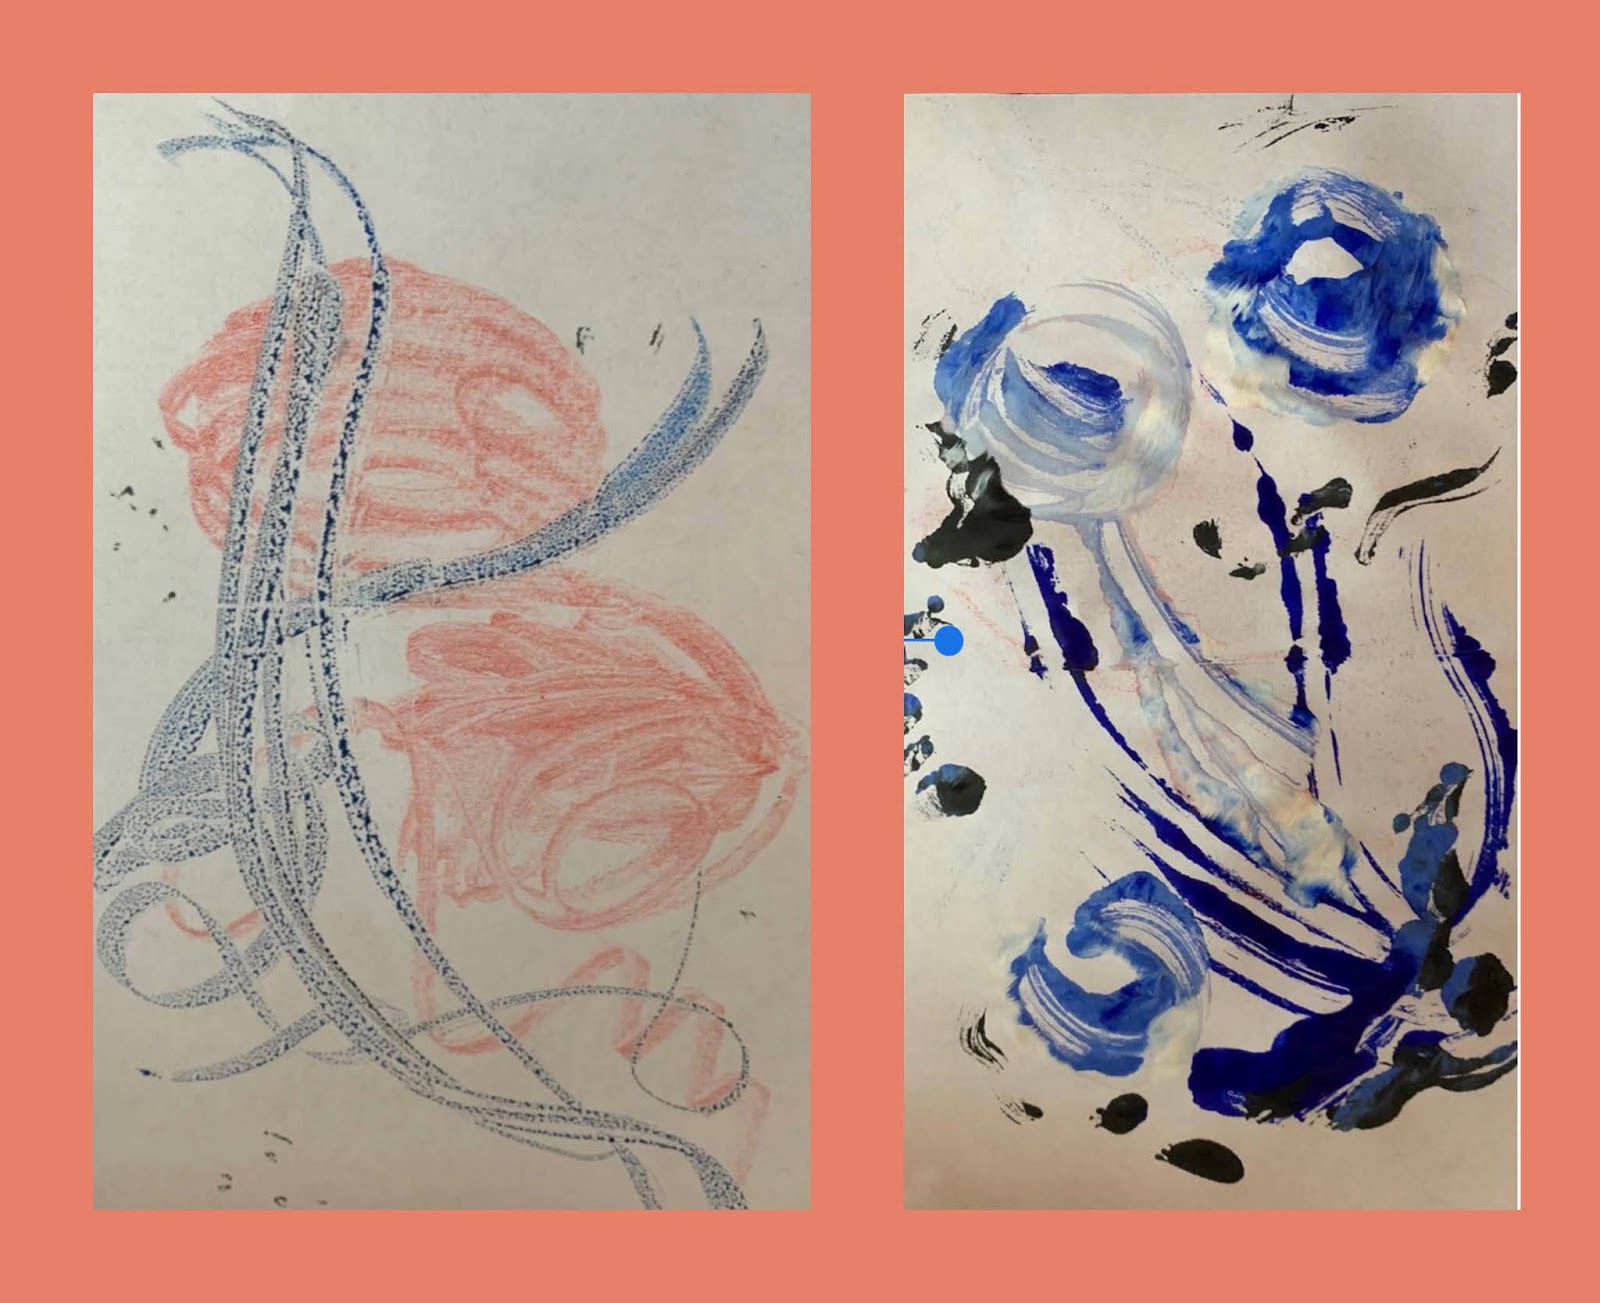
Inspiration- The artwork of Ekua Holmes is filled with bright and happy colors.  Ekua creates beautiful compositions using the technique of collage, cutting and glueing together different papers or fabrics to make a picture.  She is the illustrator for many picture books, including the one above, Black is a Rainbow Color.Artist and Illustrator Ekua Holmes at Cousen Rose Gallery - The Martha's  Vineyard Times

Tuesday, June 9, 2020

Project #35 - Power to the People!

Materials - Cardboard, pencil, marker, paint, water, brushes

Making
1.  Choose your message.
2.  Lightly write out your message with a pencil.
3.  Outline letters with a marker.
4.  Paint letters and then the background.
5.  Get out into the streets with your friends and peacefully let your beliefs be known.
6.  Do your best to socially distance and wear a mask.

Inspiration - The people of Milwaukee are the inspiration for this post. The power of the people.


Monday, June 1, 2020

Project #34 - Playing with Fashion, Superpower Edition!

Materials - paper and pen, markers, colored pencils, or crayons. Cardboard, scissors. 
Making -
1. Draw a figure on cardboard or create a cardboard puppet through connecting different cardboard body parts like legs, arms, body, etc. 
2. Cut it out and connect if necessary
3. Draw stencils of your figure multiple times on your paper 
4. Imagine an outfit for your figure. Think about a superpower or something that you have always wanted to do. I chose weather control and submarine powers! Your figure could also be part animal.
5. Use a pen to make the final outline and details
6. Add color
7. Label your different features if you would like.
8. Create the next fashion design! 

Inspiration - We have seen superheroes in movies, like Incredibles 2. There is a lot of work behind creating superheroes for the movie screen. Teams of artists do sketches, paintings, and digital drawings to design outfits that think about character powers. They work together as a team to create concepts for character design and development in order to create the digital work scenes for the movie. Check out some Incredibles 2 design work here, and more on this website: https://movies.disney.com/the-art-of-incredibles-2-gallery-characters?image_id=5b1ec9bfc09778131e762e51

Matt Nolte: Erik Smitt:


Deanna Marsigliese, Matt Nolte, Bryn Imagire, Paul Conrad, and Tony Fucile, 2018:

Saturday, May 30, 2020

Project #33 - Shadow Drawing


Materials - Paper and pen, marker or pencil


Making -
1.  You can work inside or outside, wherever the lighting is creating clear shadows on your paper. When you are working outside on a sunny day, the shadows will be bigger and longer in the early morning or late afternoon. That is because the sun is positioned at an angle. When it is in the middle of the day, the sun is overhead, so the shadows will be smaller and directly beneath your objects.
2.  Move your paper and object around until you find the best shadow for tracing.
3.  Trace the shape by drawing along the edge of the shadow.
4.  When you are finished tracing, you can freely draw more details.
5.  Then you can draw of paint some color into your picture to complete it.
6.  Maybe you could even make up a story to go along with your art!


Inspiration - Vincent Bal is a Belgian artist and filmmaker. One day back in 2016, while working at his desk, he noticed that the shadow of his teacup looked like an elephant. He enjoyed that discovery so much, that he decided that he'd do a new shadow drawing every day! He calls this style of drawing "shadowology". You can find his shadow drawings on Instagram and on YouTube.

https://www.youtube.com/watch?v=b-R-ZHTRksI


Project #32 - Playing With Fashion!

Design sketches by Cecilia
Materials - Paper, cardboard, pencil, marker, colored pencils, scissors.


Making -
1.  Draw a figure on cardboard.
2.  Cut it out.
3.  Use the figure as a stencil, and trace it several times onto paper.
4.  Imagine an outfit and start with pencil, if you like.
5.  Use pen to make final outline and details.
6.  Add color.
7.  Imagine your next fashion!
Inspiration - Today's inspiration is the art of Cecilia, a middle school student who loves all kinds of art making, including the design and making of clothes. Cece's interest in design began when she was in K-4 and would dress her dolls with fabric and ribbon. As she got older, she would cut and glue stuff together. Eventually, she learned to use a sewing machine. Cecilia says the thing she enjoys the most is being inspired by the right fabric and trims. The most challenging is when her fabric doesn't work out, because it shrinks or falls apart. In the future, Cecilia would like to learn how to make shoes, so she can make them to match her clothes.

Thanks, Cecilia, for sharing your artistic talents with us here on the Fratney Art Blog!


Wednesday, May 27, 2020

Project #31 - Collections of Objects

Materials - objects of a similar theme/activity, or objects from a collection. Optional: camera to document items, piece of paper and something to write with.

Making -
1. Find a great place to sit and make.

2. Read about artist Jim Golden below for inspiration for this project. Think about: what are some collections that you have? What about some collections that a friend or family member has? What about objects that you have that all relate to one theme (ex. Going camping, going for a walk, getting ready, making a food)? Can you make a rainbow out of objects in your house?

3. Pick out what collection/theme you will focus on. Get and organize your objects! Think about how you can display/arrange them. 
4. Take a photo of your objects if possible.
5. Optional: Write about the collection and why it is important to you. If you worked with a family member or friend’s items, interview them and see why the objects are important to them. 

Inspiration - Jim Golden is a photographer that specializes in stil life and products. He has worked in New York and Portland. He believes that collecting is human nature. He thinks that it is important to find things that you like, hang on to them, and enjoy them. This project below is part of his project called “Collections.” In his “Collections” series, he collects images of other people’s collections. Think about it: what can you photograph of one of your collections or themed objects?

Tuesday, May 26, 2020

Project #30 - ¡Las cometas!

Materials - Old sock or fabric scrap (approx. 6" square), popcorn, uncooked beans or rice, rubber bands, markers, a spoon, scissors, ribbon, crepe paper, yarn... and a nice day to go out and play!


Making
1.  If you want, decorate the fabric or sock with markers.
2.  Fill the fabric or sock with popcorn, rice or beans,
3.  Close it tightly with a rubber band.
4.  Cut some varying and long lengths of ribbon, crepe paper, yarn (whatever you can find)
5.  Tie the long strands of various materials onto the cometa tightly with yarn or string.
6.  Go outside and have fun throwing your cometa into the air!  Play catch with a friend or family member!

Inspiration - My inspiration to make cometas comes from my friend, Ximena, who taught me how to make them.  She is very resourceful with materials for making art. Ximena is a poet and artist from Chile. She was also a first grade teacher at La Escuela Fratney for many years. During that time, we did many creative projects together.

Monday, May 25, 2020

Project #29 - Hinged Puppets


Materials - Cardboard, pen or pencil, scissors, needle and thread, colorful paper and/or other collage items.
Making
1.  Draw an "exploded" view of a figure of a person, or any type of imaginative character.
2.  Cut the pieces out.
3.  Sew the parts together by poking a threaded needle through the two cardboard pieces you are joining, tying a knot, then trimming.
4.  Decorate with colored paper, collages items, drawing, or any other idea that you like.

Inspiration - Annie Katsura Rollins is a Chinese-Japanese-American who was born and raised in Minneapolis, Minnesota. After studying Theater Arts in college, Annie spent some time traveling in China to study the ancient traditions of shadow puppetry. She spent time in small villages where the whole community gathered to create and enjoy storytelling through elaborate shadow theater productions. Now Annie lives in Montreal, Canada where she works creating shadow puppets and theaters. She also works to educate people about the history and beauty of the Chinese traditions of this art form. You can find out more at her website: https://www.chineseshadowpuppetry.com
https://vimeo.com/41524173

Saturday, May 23, 2020

Project #28 - Collographs

Materials - Cardboard, scissors, glue, paper, crayons

Making
1.  Cut a piece of cardboard that will be your background surface.
2.  Decide on a design that you will create. Some ideas include; landscape, portrait, animal, still life, or abstract composition.
3.  Cut the shapes you need to construct your design.
4.  Glue the shapes into place on your background.
5.  Give the glue 5-10 minutes to dry.
6.  Place a sheet of paper over your collograph plate.
7.  Use the side of a peeled crayon and rub across the paper and the texture of you design will appear.
8.  If you want add details to your design using other colors.


Inspiration - Corwin Clairmont grew up in the Salish and Kootenai cultures. He began winning awards and being recognized for his art talents as a young teenager. Later, he went to art school. Now, he is part of a group of Native American artists who use their art to speak out about political issues and cultural identity. Corwin Clairmont uses collography and other printmaking techniques in his art, as well as photography and collage.
Corwin Clairmont (Salish)
Indian Land Passage Denied, collograph and chine colle, 2005; 151⁄2 x 18”


Thursday, May 21, 2020

Project #27 - Experimental Printing

Materials - Plastic wrap (from the kitchen), markers or any type of paint

Making
1. Find a great place to sit and make art
2. Gather your materials
3. Put out the plastic flat on a surface
4. Put down color (either markers or paint) on plastic. 
5. Make a design, try to mix colors, or experiment with text. Use work from artist Christopher Wool as an example!
6. Lay paper on top of the color and press. Slowly pull up. 
7. Try another print over the color with another paper, or lay down some more colors/wipe off the plastic and try again! 


Inspiration -Christopher Wool is an artist who uses many different styles to create art, such as spray painting, screen-printing, lithograph printing, hand painting, and other methods. He often paints in layers and uses strategies to show gestures, depth, and flatness. He often experiments in his artwork processes. Take a look at his prints below and think: how can you experiment with how you apply paint and color to create a print?


Thursday, May 14, 2020

Project #26 - Salt Dough Impressions

Materials - Flour, salt, water, nature items 
**This creates salt dough, which can be used like clay! It is important that you don’t eat it, even though it is made out of flour, because we will be pressing in items from nature into it and coloring/painting it. 


Making 
1. Gather some items from nature. Go for a walk or step outside! Look for leaves, rocks, sticks, etc. You could use something from inside, as well. 
2. Get 1 cup flour, 1/2 cup salt, and 1/2 cup cold water. This makes quite a lot, so you can adjust the recipe as needed. For my example, I used ½ cup flour, ¼ cup salt, and ¼ cup water. 
3. Mix flour and salt in a bowl together. Slowly mix in water, a few tablespoons at a time, until the dough is smooth. 
4. Knead the dough for 10 minutes, and then, let it rest for 20 min. 
5. Preheat the oven to 250 degrees F. Roll some of the dough into spheres and press down to make circles. You can create impressions by pressing your nature objects into the dough. Another option is to form the clay to resemble a nature item (see the leaf here!). 
6. Place on a pan and cook for 2 hours or until dry and hard. 
7. Once it’s done, you can paint or draw on the impression to add color and detail. Look at your natural items for inspiration/reference!


Inspiration 

Check out this artist, Kathy Boyland. She preserves nature through pressing flowers, leaves, and other nature items into clay. Sometimes, she fires them in a kiln. Take a look at some of her work for inspiration! 

Wednesday, May 13, 2020

Project #25 - Foil Figures


Materials- Aluminum foil, newspaper, flour, water, scissors, marker, OPT. box or other container (for base).

Making-
1.  Start with a piece of foil, 12" -18" long.
2.  Use a sharpie marker to draw a line from the bottom in the center and up 1/3 of the way, two lines that divide the width into 1/3's from the top and down 1/3 of the height, and then a line drawn fom each side 1/2 way down and 1/3 of the way in.  
3.  Cut along each of those 5 lines.
4.  Gently crush each section to form legs, arms and a head.  Crush the sections down further.
5. Tear newsprint into small narrow strips.
6.  Mix a bowl of flour paste, 1 part hot water to 1 part flour.
7.  Starting in the center of the torso, apply paste to the foil form, then wrap with paper, then add more paste.
8.  Continue to work one section at a time until the figure is covered.
9.  Using the same paper mache technique to cover a box that will be a pedestal for the statue.
10.  OPT. - you can speed the drying of the paper mache by putting it into the oven at 250 degrees for about 20 minutes or until dry.
11.  Once dry, glue the pedestal and figure together.

Inspiration - Albert Giacometti was a Swiss painter and sculptor. He is best known for his thin elongated figurative sculptures. These figures have a dreamlike quality, evoking feelings of quiet and solitude.  Giacometti's models for his artwork were members of his family.  Before Giacometti made these large thin sculptures, he many many miniature sculptures that were only a couple of inches tall. He came from an artistic family. His father was a painter, one of his brothers was an architect, and the other was a designer.  Giacometti lived in France during World War II, and many believe that his sculptures express the fear and isolation that many people felt during the war.
Albert Giacomettie, Falling Man, 1950
Albert Giacometti, Walking Man, 1960